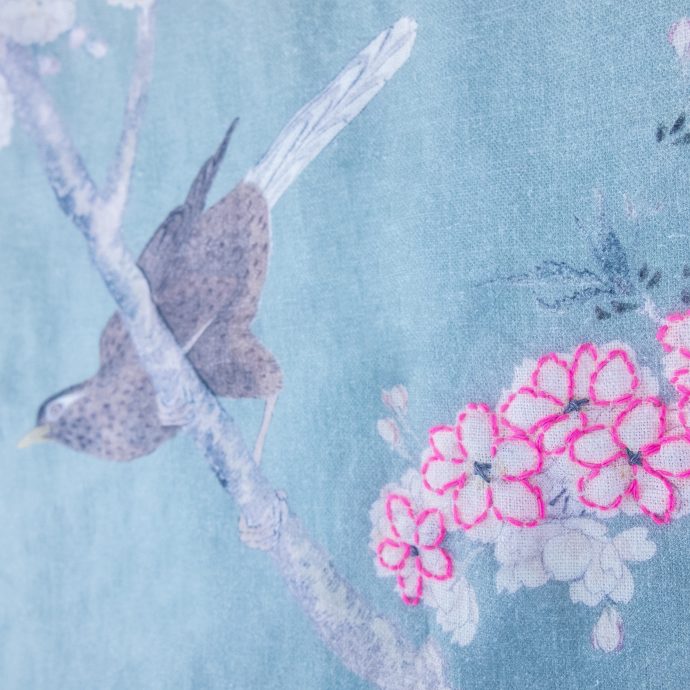
Put a bird on it!
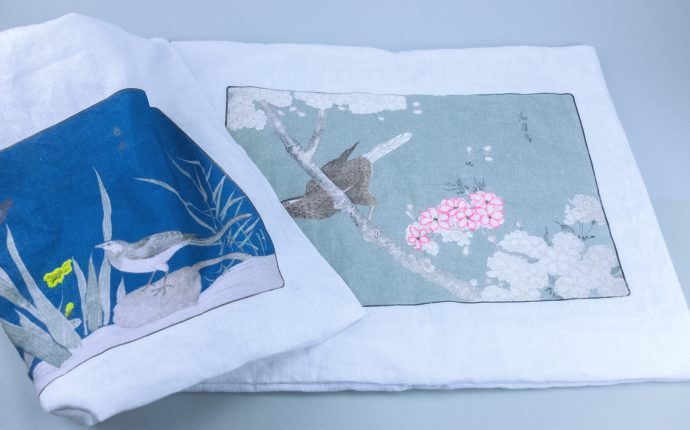
This little bunting bird singing its song on a branch of cherry blossoms derives from the book “Imported birds” by Kitao Masayoshi. The Ukiyo-e artist creates the colored woodcut in Tokyo in 1789, 200 years later we turn it into a contemporary eyecatcher: we color the background and follow the blossoms with fluo pink stitches. For the second print of a white wagtail with iris we use a yellow thread.
What you need
- Woodcut from our collection
- Print shop for textiles
- Fabric and sewing materials
- Embroidery hoop
- Needle and colored wool or embroidery thread
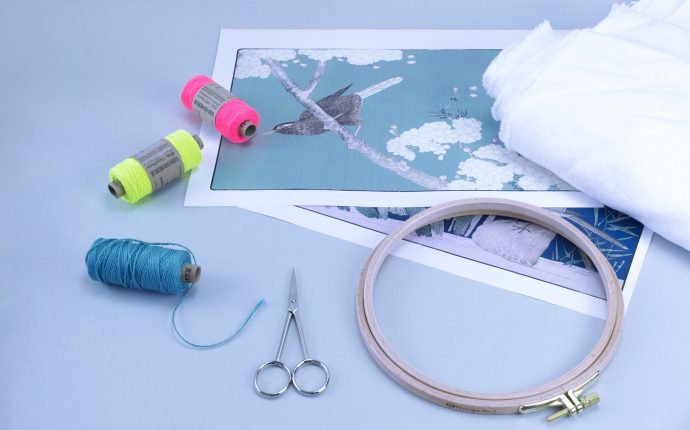
For your future pillow cases you need a piece of fabric that's easy to print on, like cotton or linen, plus an embroidery hoop, fluo thread and your images in the right size – as data or print-out.
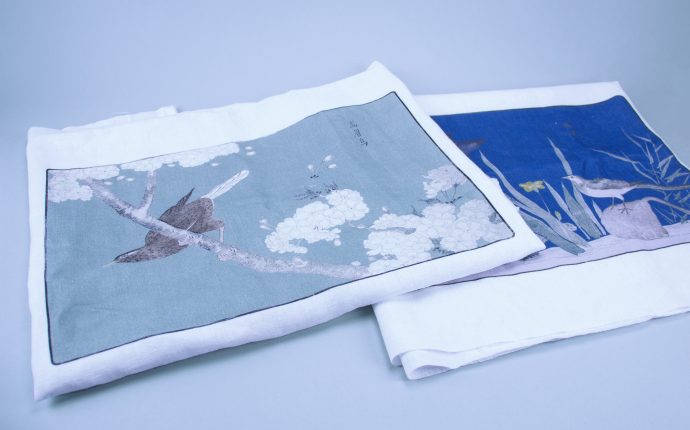
Let your print shop do the work for you! Just keep in mind that you leave enough blank fabric for margins and seams.
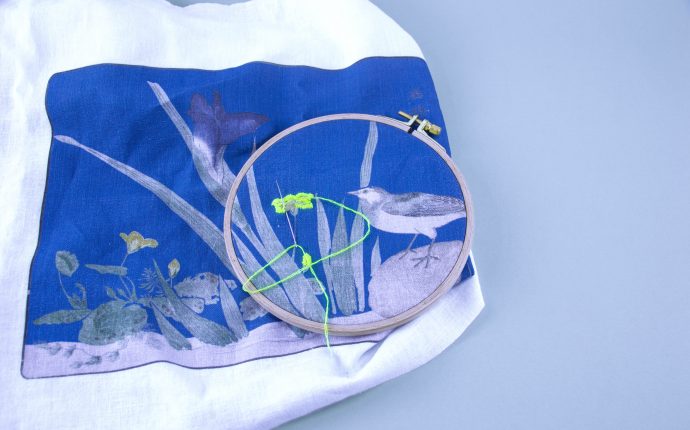
Now start highlighting parts of the image by following or filling them with embroidery stitches. Depending on the detail you choose, different embroidery techniques may be useful. We found a great overview and tutorial on Pumora .
At the end finish your DIY piece and sew your fabric to a pillow case. Need help? There is a Wiki-how with helpful hints. Enjoy! (Photos: Marleen Hemmert/ MKG, CC-BY 4.0 SA)
Shortcut
If you are not a sewing superstar, just print your birds a blank pillow case.